 |
|
|
Off-Road
Only U-Turn Steering System
While you are at it, another mod you might want to consider is installing
on your Jeep is a U-Turn Steering System from Off-Road Only. Write-Up
coming soon.
Air Lift Suspension
If you're anything like me and carry a family, lots of gear....
basically heavy loads on your Jeep, you know how much your rear
end can squat and how much it can effect your ride on the trail.
To solve this problem, I decided to install an Air Lift Suspension
on my rear coils. They are affordable and easy to install. Click
on the link below to see my installation write-up:
Air Lift Suspension
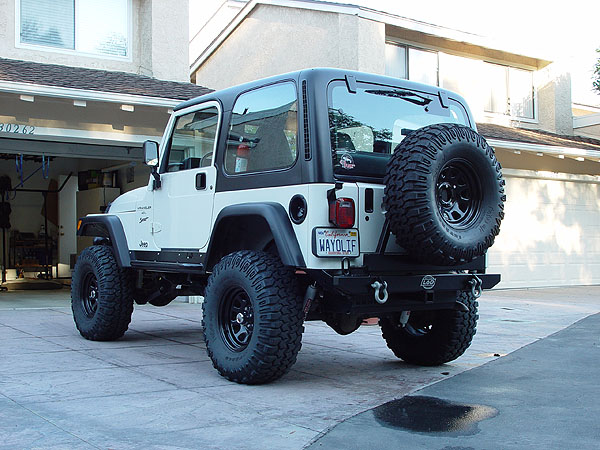
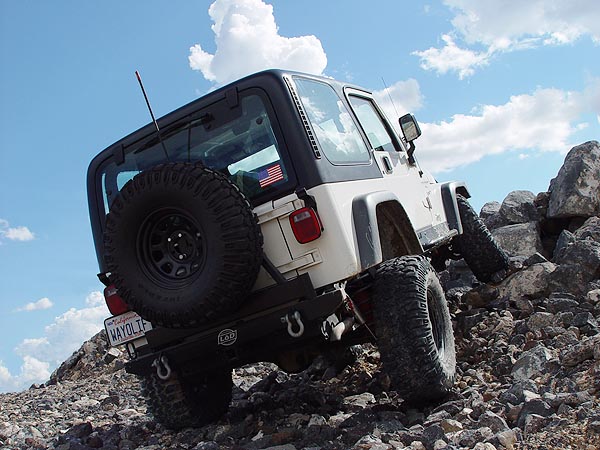
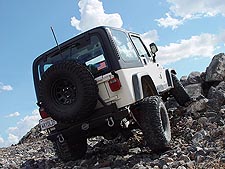
The Results
|
 |
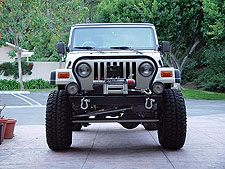
Front View |
 |
Side View |
 |
Rear View |
 |
View of the Front Suspension |
Post
Installation Notes
Let me just sat that this will be my third lift in the past 5 years
and I can honestly say that really love the Rubicon Express 3.5"
Super Flex Suspension Lift the best. The new control arms really do
allow for a lot more flex and the coils are nice and solid compared
to my old Rusty's set. On road, the ride this lift gives with DT8000
shocks is a hair on the firm side and in my opinion, better than stock.
On thing I should note, is that you really should consider getting
an SYE/CV drive shaft for this lift. I always thought I didn't have
any vibes when I was running my 3" Rusty coils and 1" spacers,
but now that I have an SYE/CV, my drive lines feel like butter. Trust
me, this is something you want and it will prevent other problems
associated with drive line vibes like pinion oil seal leaks or worse,
U-Joint failure.
|
|
|
|
Rubicon
Express 3.5" Jeep TJ
Super Flex Suspension Lift
<<
Back - Page 2
|
20. Climb underneath the
back of your Jeep and disconnect the rear swaybar links using
a 15mm socket and 18mm wrench.
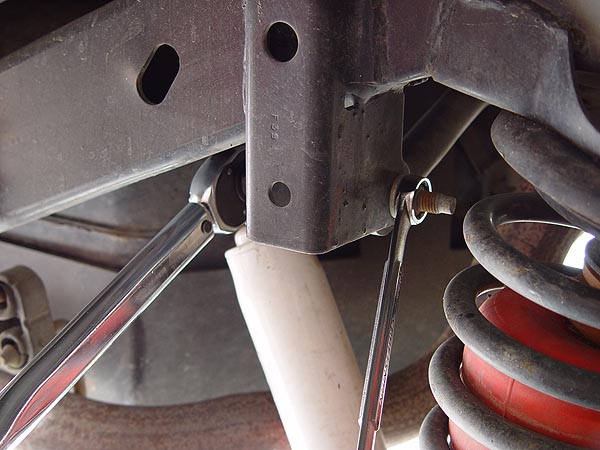
21. Remove your rear shocks using a 15mm
and 18mm socket/wrench at the axle and a 13mm socket for the
upper frame mount. The upper mounts are difficult to reach
and a 12" ratchet extension will make this job a lot
easier.
22. Crack the lug nuts on your rear wheels
loose and then using a floor jack, lift up the rear of your
Jeep from the differential. Place jack stands just in front
of the lower control arm mounts on the frame rails and then
remove your wheels. As you did up front, place the wheels
in front of the jack stands and underneath the frame rails
for added protection. |
 |
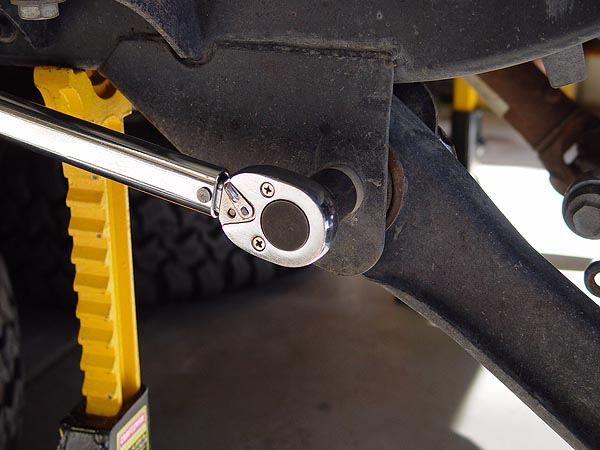
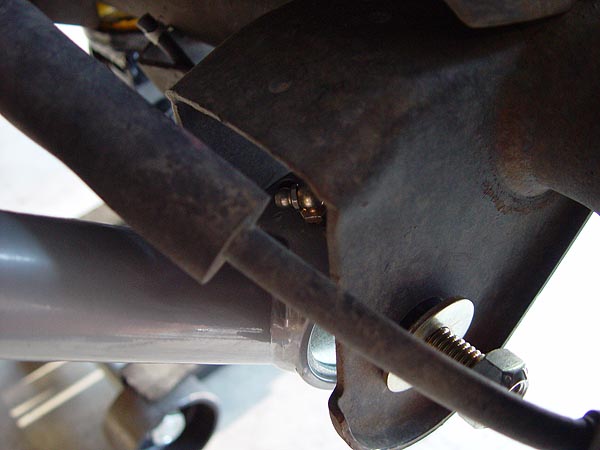
23. With the axle still supported by your
floor jack, remove the bolt and nut securing your rear track
bar to the frame mount using a 15mm and 18mm socket and wrench.
You may have to raise or lower your axle to make removing this
bolt easier. |
|
24. Remove the lower control arms from
the frame rails and axle using a 21mm socket and a crescent
wrench. Again, a breaker will come in handy here as the bolts
are seriously on tight.
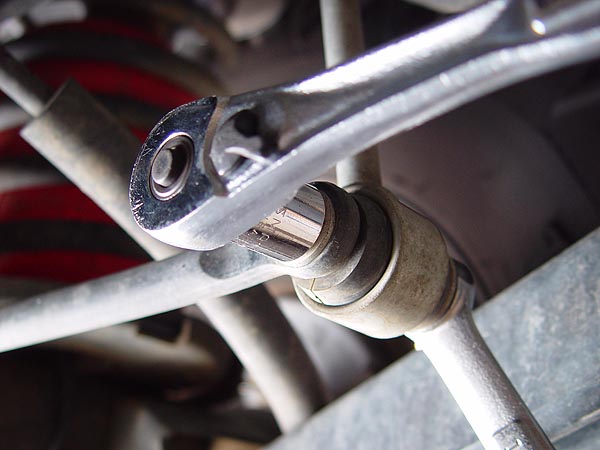
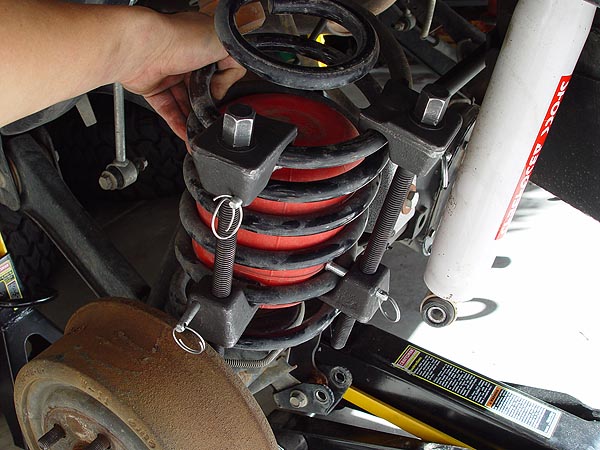
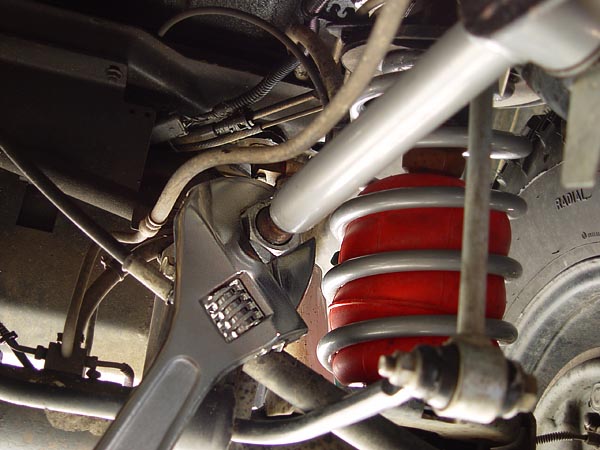
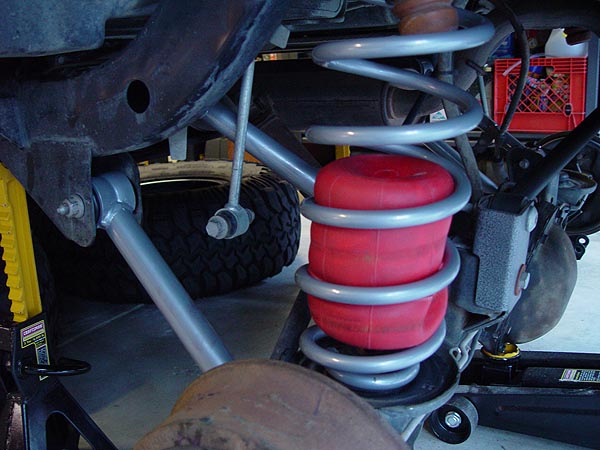
25. Now, slowly lower your rear axle as far
as it will go. Again, if you've got stock coils, your springs
should just about fall out but if you're starting out with
taller springs like me, you will most likely need the help
of spring compressors to remove the coils. As you can see
in the pic to the left, the red things inside of my rear coils
are Air Lift Suspension bags. |
|
26.
Remove
the plastic dust cover off of your trackbar mount using a
screwdriver and discard it. Now remove the
bolt attaching your trackbar to your axle using a Torx T-55
Bit.
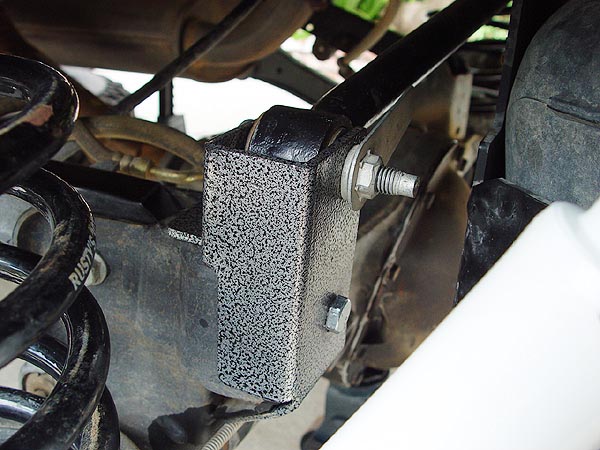
27. Using the
relocation bracket as a template, drill two 5/16" holes
in the axle flange as needed. Install your new trackbar relocation
bracket using the hardware that comes with the kit. If you
have space between the bracket and mount, use the shims that
come with the kit to fill in the gap.
28. Re-install your factory trackbar onto
the new relocation bracket and frame rail mount tightening
the bolts to 85 ft. lbs. of torque. You may need to raise
and lower your axle a bit with a floor jack to line up the
holes better. |
|
29. Install your new lower control arms
with the rubber bushing at the frame and the zerk nipple facing
up at the axle mount (see photo to the left). Re-use the factory
hardware at the frame and the new grade 8 bolt, washer and lock
nut supplied with the Rubicon Express Super Flex kit on the
axle end. The frame mount will need to be tightened to 130 ft.
lbs. of torque and the axle mount to 85 ft. lbs. |

|
30. Okay, if you are installing your new
Rubicon Express Super Flex Lift like you are supposed to, then
you should have a pair of adjustable rear upper control arms
in hand that need to get installed at this time. To start, unbolt
the brake line retainers using a 13mm socket. These retainers
will end up dangling and clanking around so I pried mine off
with a pair of vice grips.
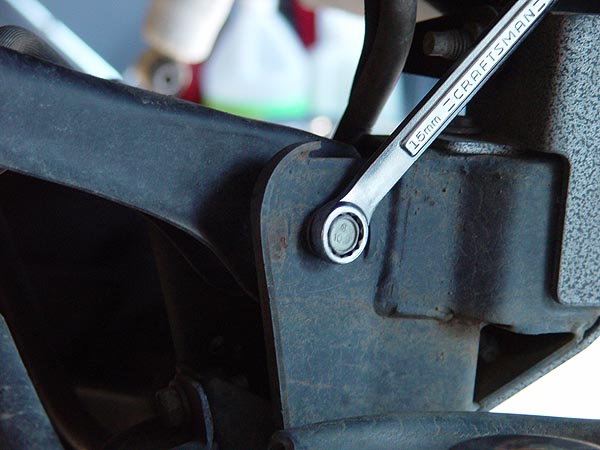
31. Next,
remove the bolts attaching your upper control arms to the axle
using a 15mm socket and wrench. I suppose you could detach the
exhaust hanger and get in there with a wrench but I found that
with a 12" extension, I could work over the muffler to
remove the bolt with a ratchet. The extension will also make
it easier to torque on the bolt during re-assembly.
32. Install the zerk nipples on to the control
arms using a 5/16" wrench. For now, adjust the arm 1/4"
longer than your factory arms, lock them in place with a large
1-1/2" crescent wrench and then, install them on your Jeep
re-using the factory hardware (this will allow you to use your
Jeep until you get you new drive shaft) and with the rubber
bushing attached to the frame mount and the zerk nipple pointing
up. Do not fully tighten these bolts until your Jeep is back
on the ground. |
|
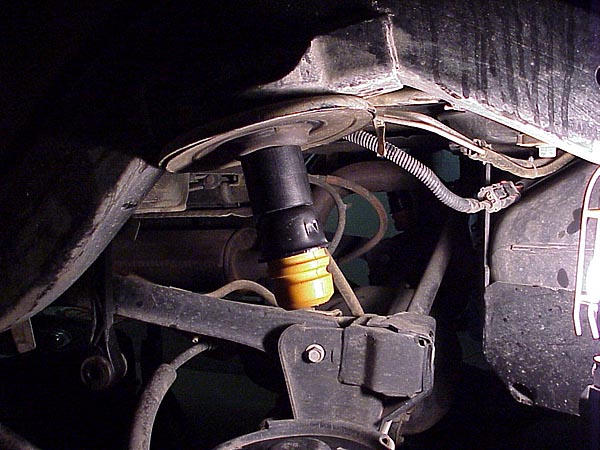
33. Now,
remove the rubber bump stop by firmly grabbing it and then working
it back and forth until it comes out.
Inside the bump stop retaining cup, you will
notice a bolt holding it in place. Remove this bolt and the
replace it with the longer one supplied in the Rubicon Express
kit. Place the new bump stop extension over the bolt, then the
spacer over the extension. Re-attach everything to the upper
spring perch. If you are using an Air Lift Suspension
like me, do not use the bump stop extensions.
34.
Install your new rear springs. They should go in with ease but
if they don't, use your spring compressors to help you out.
35. Install your new rear sway bar links
re-using the factory hardware.
36. Install
your new and longer shocks. As the front, I am running Doetsch
DT8000's with JKS Bar Pin Eliminators and the installation write-ups
for them can be found here:
• Doetsch
DT8000 Shocks
• JKS
Bar Pin Eliminators (BPE)
37.
Re-install your wheels, lower your Jeep back on to the ground,
torque your lug nuts to 95 ft. lbs., tighten the lower control
arm frame mount bolts to 130 ft. lbs. of torque and the axle
mount to 85 ft. lbs. of torque. Tighten the upper control arm
bolts to 55 ft. lbs. of torque. |
|
38. Bleed your brake lines. Click on the
link below to see my write-up:
Bleed
Your Brake Lines
39. Double check all your bolts and nuts to
make sure they have been torqued to the appropriate settings
and be sure to grease all your new little zerk nipples.
40.
Take your Jeep out for a quick test drive, note the location
of your steering wheel and then proceed to align your front
end. Click on the link below to see my write-up:
Basic
Front End Alignment
41.
If you bought an SYE/CV drive shaft like
you should have, proceed to install them now. If don't have
the time to install the SYE/CV at this time or if you couldn't
afford one, proceed to install your transfer case drop now.
Click on the link below to see my write-up:
Transfer Case Skid Plate Drop |
| |
Now that you are lifted, it's time to get rid of those
vibes the right way. Click on the link below to see my AA
SYE write-up:
Advance Adapter SYE/CV Drive Shaft
Installation Write-Up
|
|
|
|