Tools
You Will Need
•
ORO
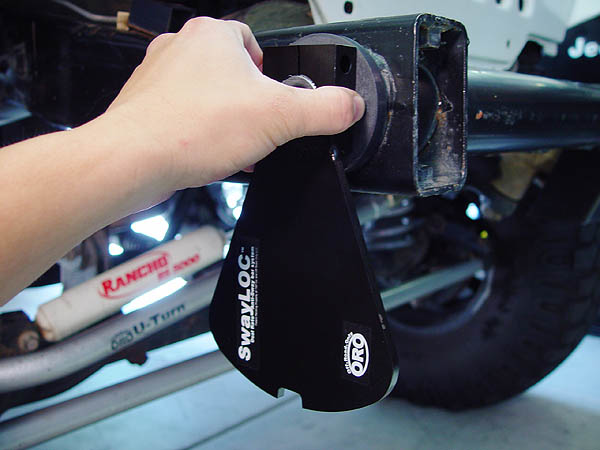
SwayLOC Anti-Sway Bar System
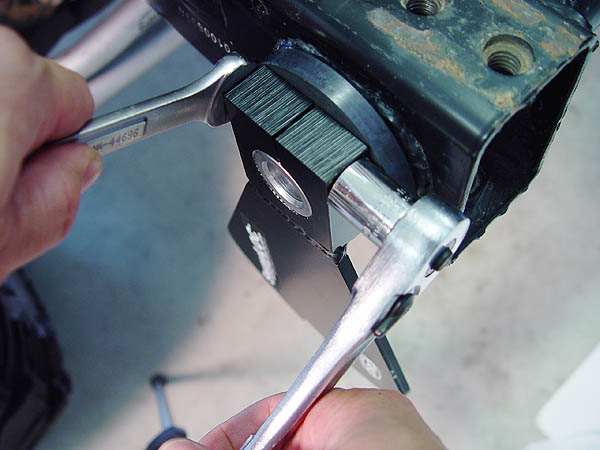
• 10,13,15,17,18,19mm Socket/Wrench
• 1/4",1/2",5/8",9/16",11/16",3/4"
• Socket/Wrench
• 1-¼" Socket
• T-55 Torx Bit
• Ratchet
• Ratchet Extension
• Torque Wrench - 90 ft. lb. Capacity
• Flat Head Screwdriver
• Wire Cutters/Wire Strippers
• Pliers
• 1/4", 5/32", 3/8" Metal Drilling Bits
• 3/4" Unibit or Drill Bit
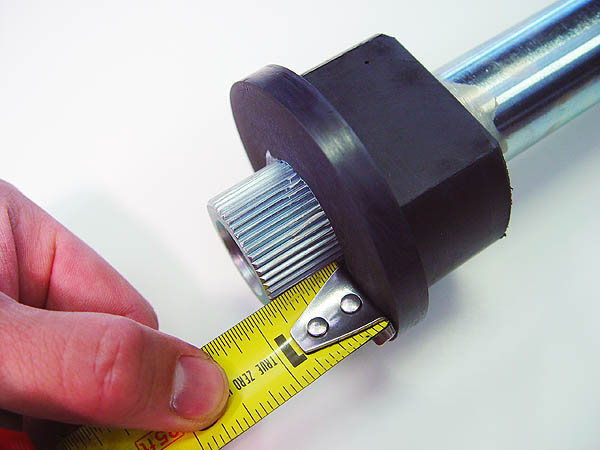
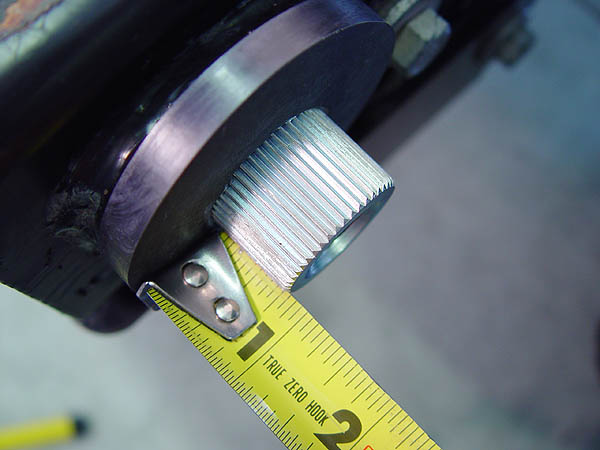
• Tape Measure or Ruler
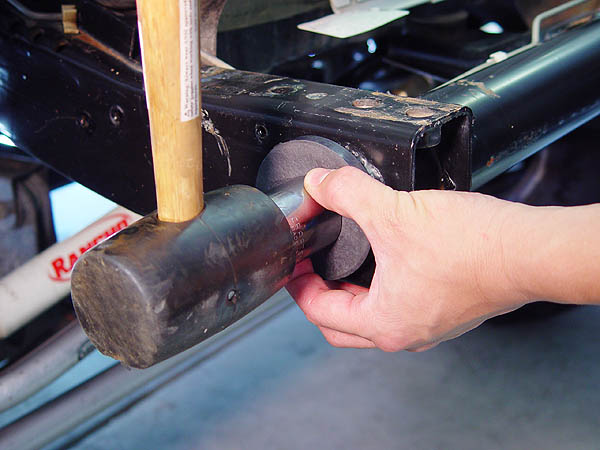
• Rubber Mallet
• Hand Drill
• Dremel
• Grinding Bit
• Safety Goggles
Additional Hardware
You Will Need
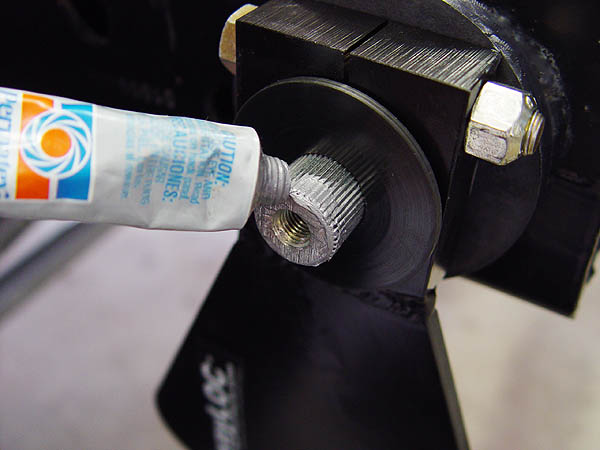
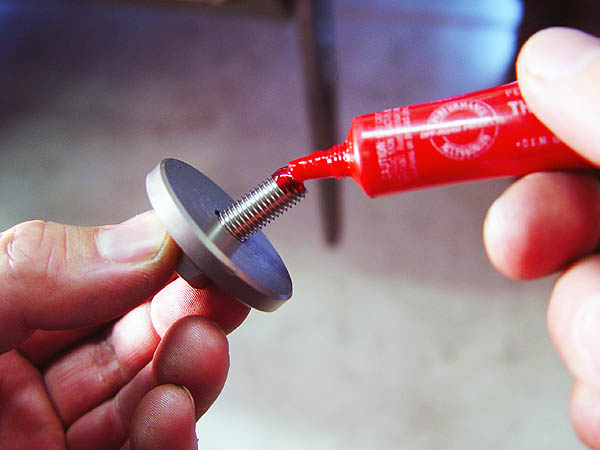
• Red Lock-Tite
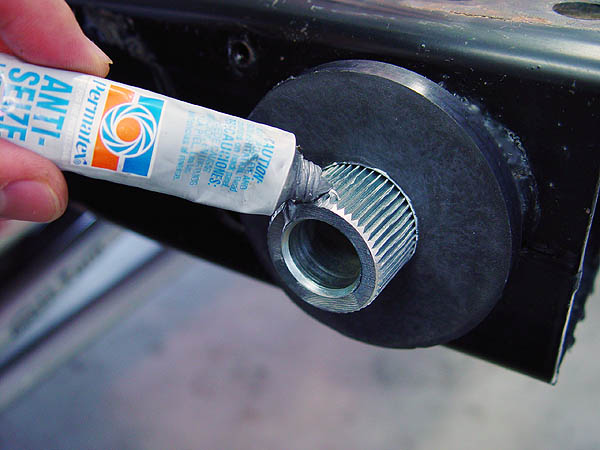
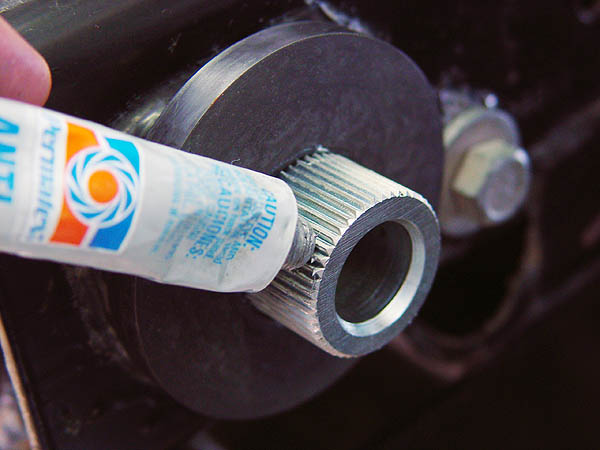
• Anti-Seize
• Teflon Tape
• Silicon Sealer RTV
• 4 - 5/16-18x1 Stainless Steel Bolts
• 4 - 5/16 Stainless Steel Washers
• 4 - 5/16 Stainless Steel Nyloc Nuts
• 1"x1/8" Steel Bar Stock
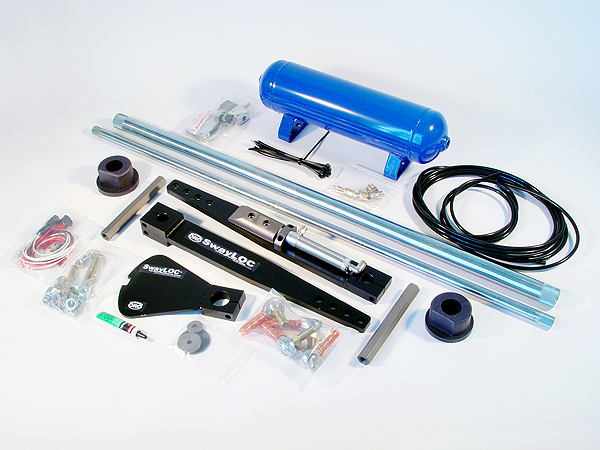
What Comes with the
Off Road Only
SwayLOC Anti-Sway Bar Kit
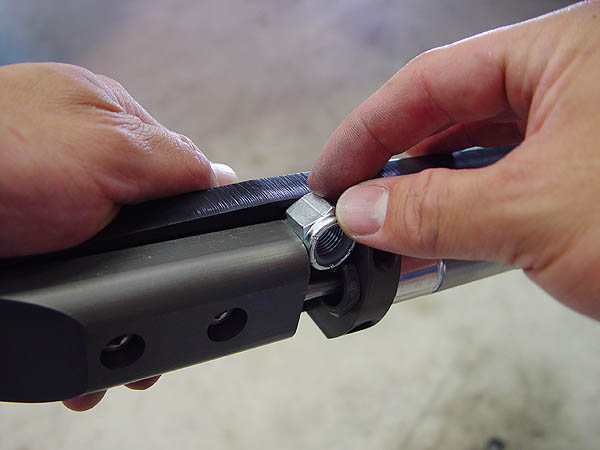
1 - Tubular Outer Torsion Bar
1 - Solid Inner Torsion Bar
2 - Urethane Frame Bushings
1 - Passenger Side Inner Short Arm
1 - Passenger Side Outer Arm
1 - Driver Side Outer Arm
2 - Link Assemblies (disassembled)
2 - Cap Bolts
4 - 3/8x2-1/2" Grade 8 Bolts
4 - 3/8 Grade 8 Nylock Nuts
1 - Large Aluminum Washer
1 - Small Aluminum Washer
1 - Large Nylon Washer
1 - Air Solenoid Assembly w/Hardware
1 - Intermediate Harness
1 - Bunch of Zip Ties
2 - 15' Lengths of Air Line
1 - 4' Length of Air Line w/1 End Melted
1 - Lighted Switch
1 - Air Tank w/Fittings & Schrader Valve
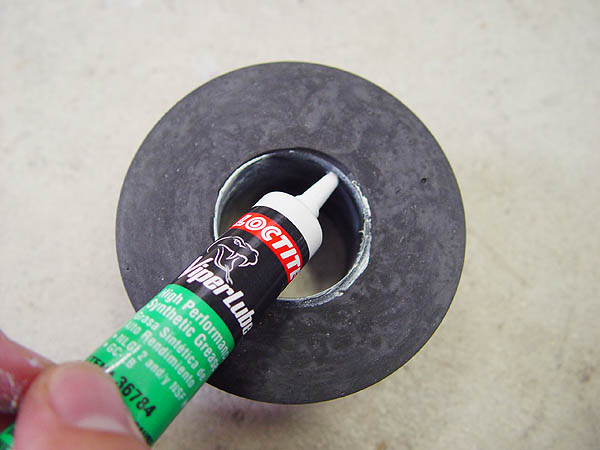
1 - Tube of Viper Lube
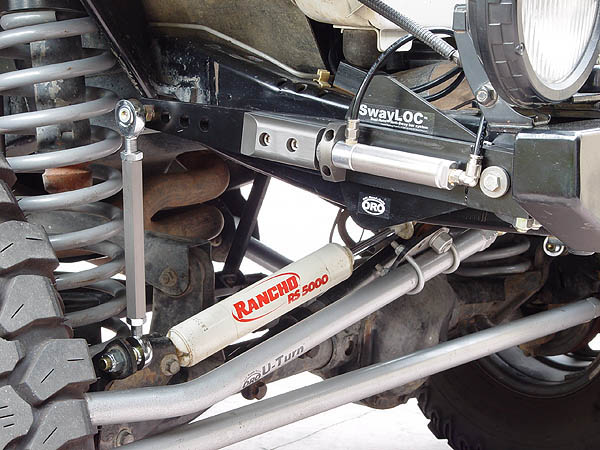
SwayLOC Design Overview as Stated by Off Road Only
SwayLOC is a dual rate Anti-Sway bar system that allows the operator an easy
method of changing from on road rate to off road rate. The on road rate is softer
than the OEM Anti-sway bar, this will allow a more compliant ride on highway, as
the SwayLOC will absorb some of the jarring that may be transmitted to the vehicle thru the OEM Anti-sway bar. The off road rate is unique in that the
SwayLOC will allow full range of articulation on most vehicles, but during this
range of movement will continue to provide resistance and will usually deliver a
more balanced feel of the vehicle.
The transition from off road to on road is done either by manual engagement of a
lever mounted on the passenger side control arm, or on a vehicle equipped with
an on board air supply, the actuation may be done pneumatically. The pneumatic
actuation can be operated either by an electrical switch inside the Jeep, or if the
Jeep also has an AiROCK air suspension system installed, then the software in
the AiROCK will automatically control the actuation based on the preference of
the operator.
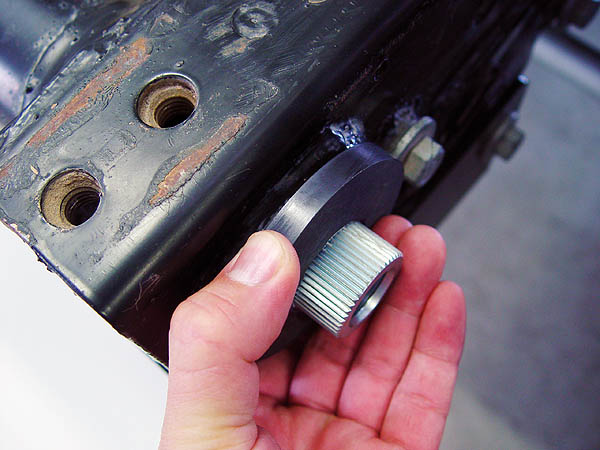
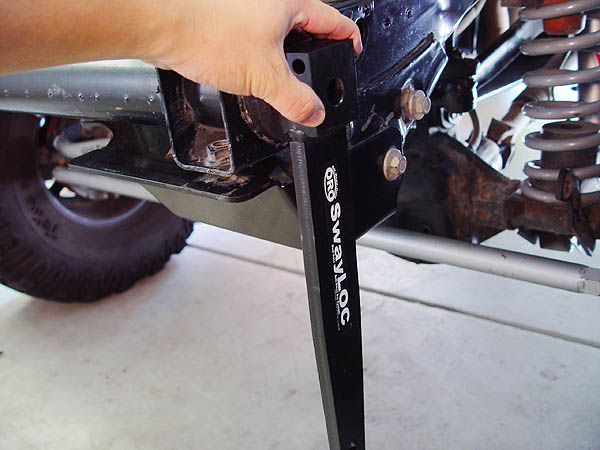
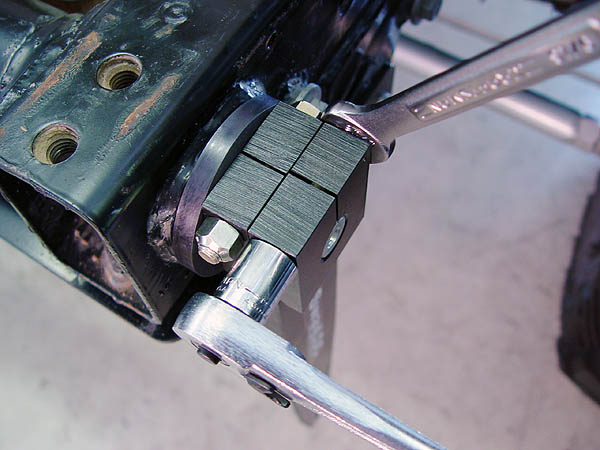
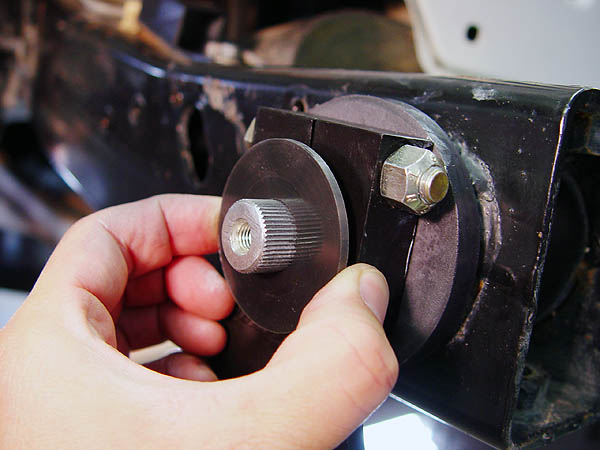
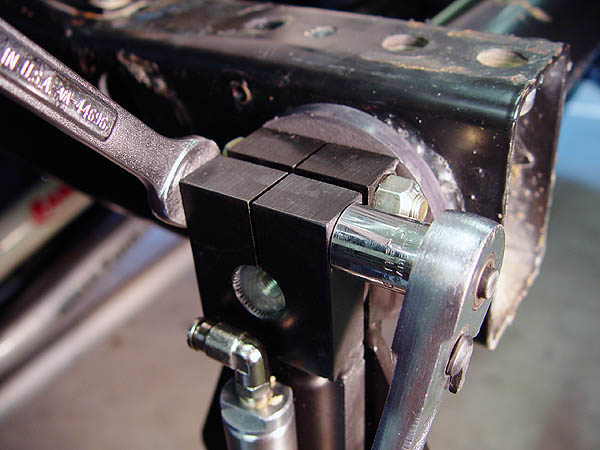
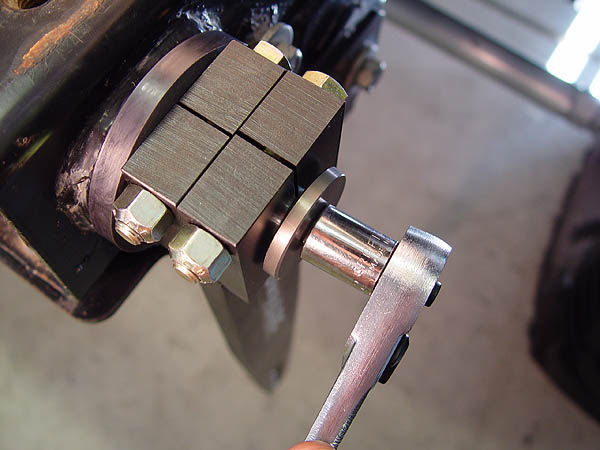
The SwayLOC utilizes the front cross member on the Jeep TJ and YJ frames for
mounting. If your Jeep is equipped with a bumper that covers or obstructs with
that area, some clearancing may need to be done to achieve the room necessary
to install SwayLOC.
Other Off Road Only
Products on My Jeep
•
ORO LiteDOT LED Tail Lights
•
ORO U-Turn Steering System
•
ORO X-Line Synthetic Winch Line
•
ORO Aluminum Fairlead