What
You will Need
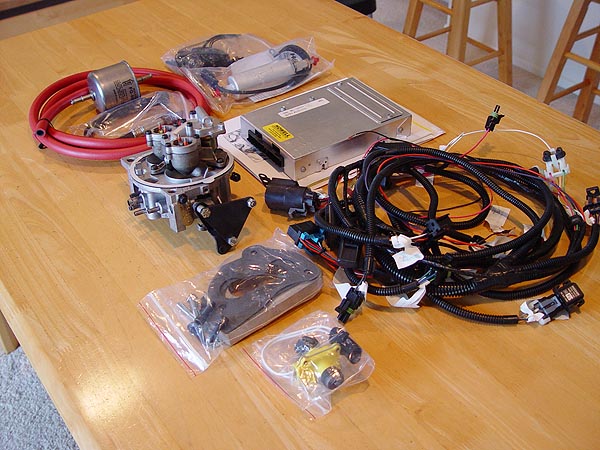
• Howell Emissions Legal 258 TBI Kit
• Air Filter Intake (88-95 Chevy Tahoe)
• Spectre 4950 Riser Adapter Kit
• 2 - Victor Reinz G31043 Gaskets
• Small Indicator Lamp
• 2 - Emissions Elbows
• 2 - Emissions Grommets
• Velcro Tape
• Complete SAE Wrench & Socket Set
• Ratchet
• 3" Ratchet Extension
• Standard Flat & Phillips Screw Drivers
• 1/4" Allen Wrench
• Small Tube Cutter
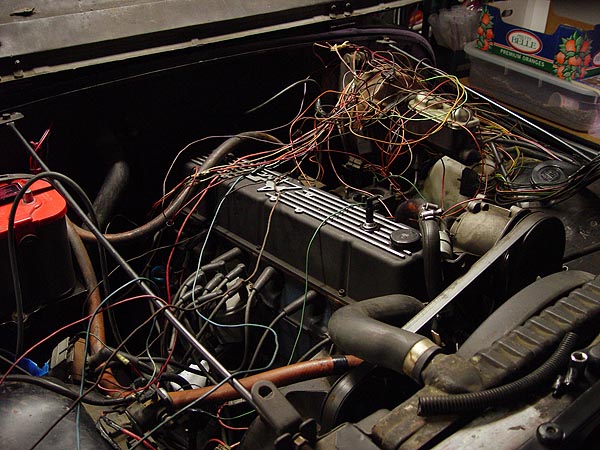
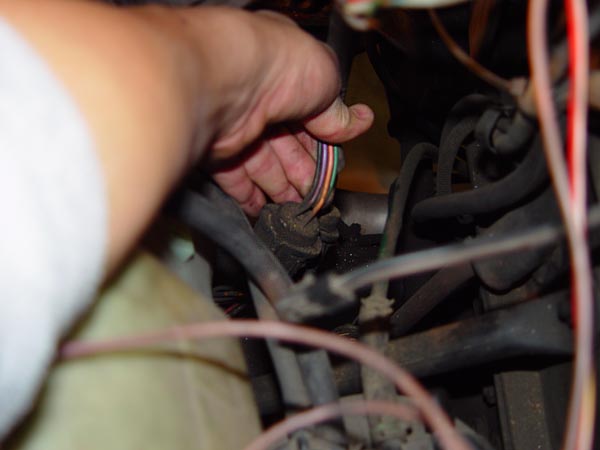
• Wire Cutters/Splicer
• Pry Bar
• Gasket Scraper
• Solder Iron
• Solder & Flux
• Solderless Wire Connectors
• Electrical Tape
• Hand Drill
• Metal Drilling Bits
• 1-7/5" Metal Hole Saw
• Self Tapping Metal Screws
• RTV
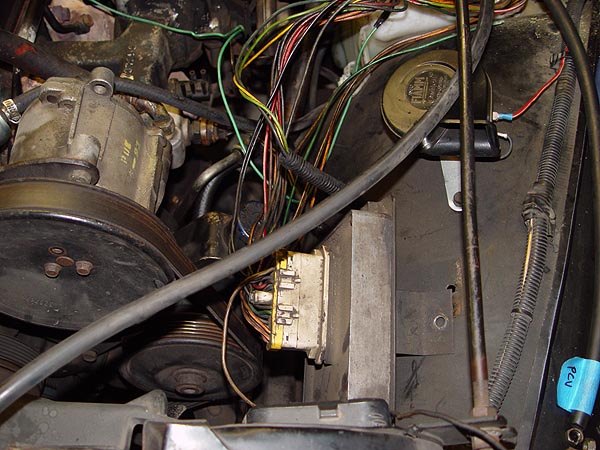
• Vacuum Hoses
• Vacuum Hose T's
• Vacuum Port Plugs
• Fuel Line Hose
• Coolant/Anti-Freeze
• Fire Extinguisher
• Rags
Where to Get Your Parts
Howell
Emissions Legal TBI
I picked up my Howell TBI kit from a Collins Brother eBay auction.
I paid only $1,145 for the kit + $19 to have it shipped to me.
Redline
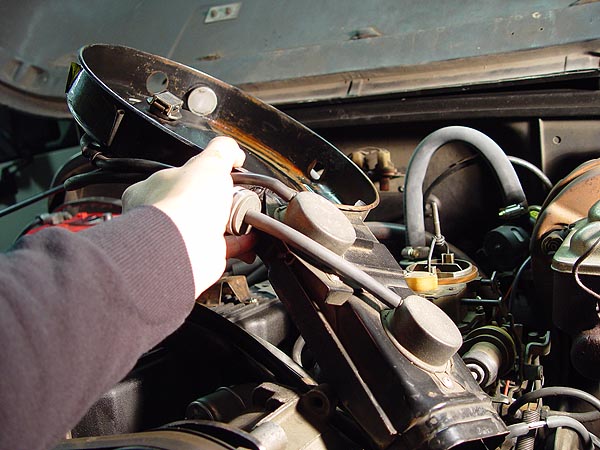
Motorsport Air Intake
The air intake system was also purchased on eBay from a company
called Redline Motorsport. The total cost for this was only $59.12
shipped to my door. This air intake system was designed for use
on an 1988-95 Chevy Tahoe TBI and so the fit was very good.
If you have an aluminum valve cover like I do, you will need to
purchase a spacer and a couple of good gaskets to make this work
out. The make and part numbers are listed above.
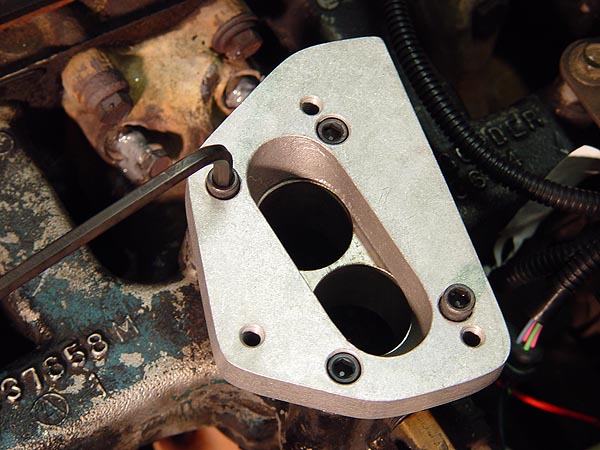
Specter
4950 Air Intake Spacer
I was able to find the Specter air intake spacer kit over at my
local Kragen Autoparts store.
Victor
Rinze G31043 Gasket
The Victor Rinze gaskets can be purchased at Napa Auto Parts. Don't
forget you will need 2 of them.
RadioShack
Indicator Lamp
I reused the old "Check Carb" light that came standard
on California CJ's but you can find a small indicator light at Radioshack.
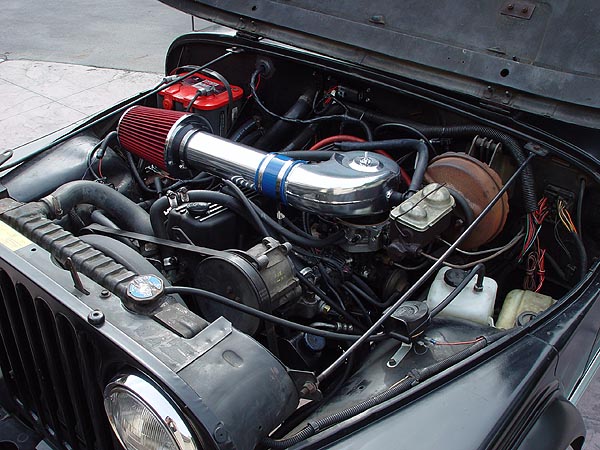
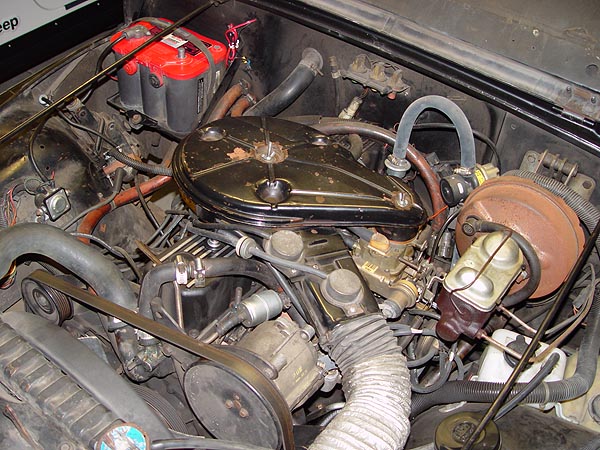
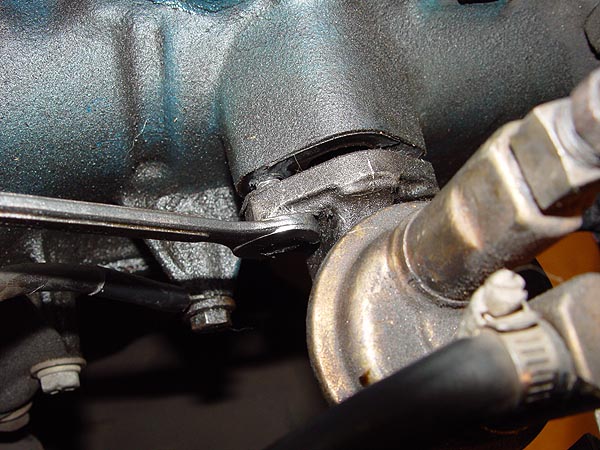
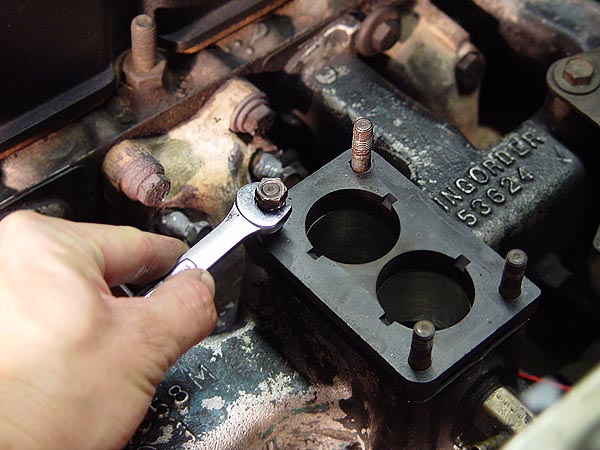
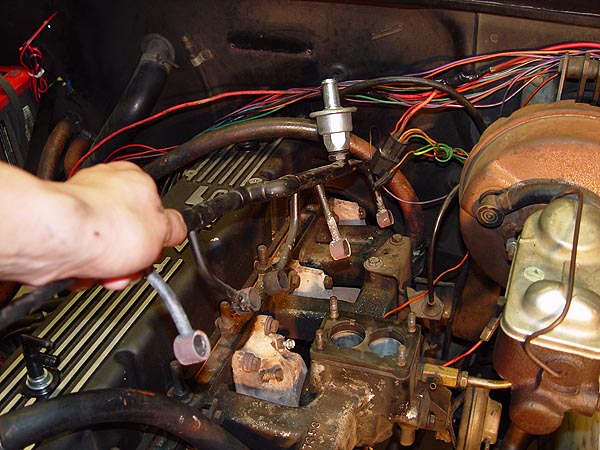
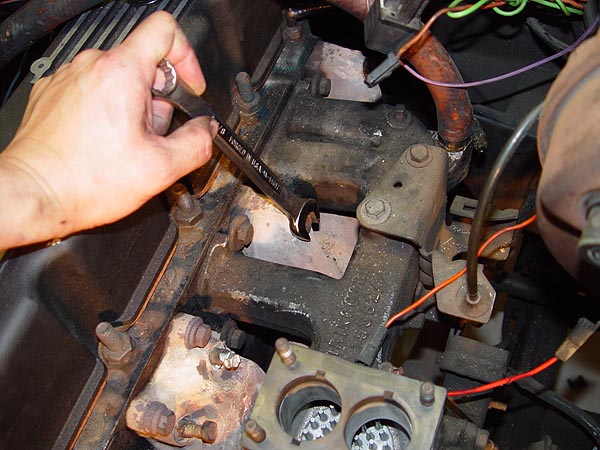
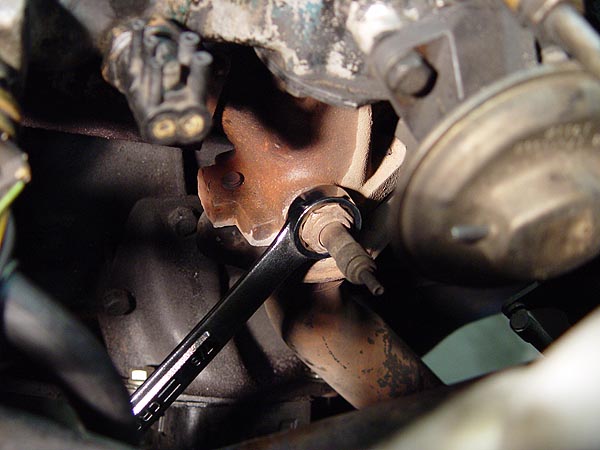
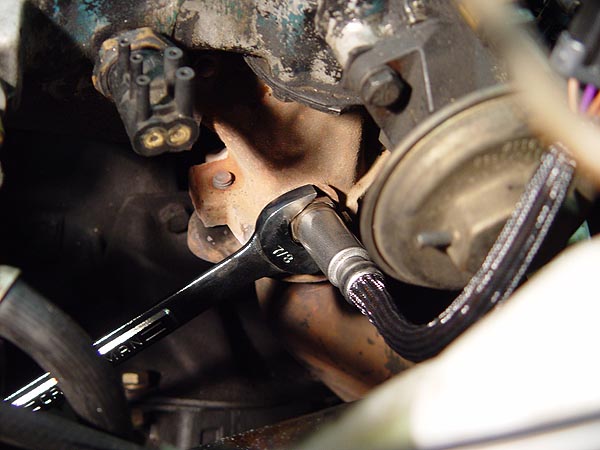
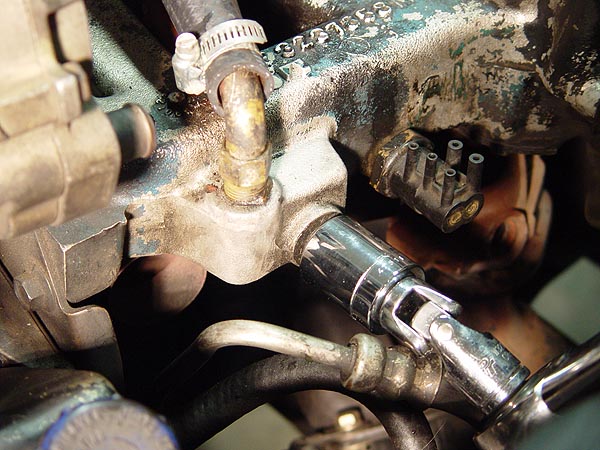
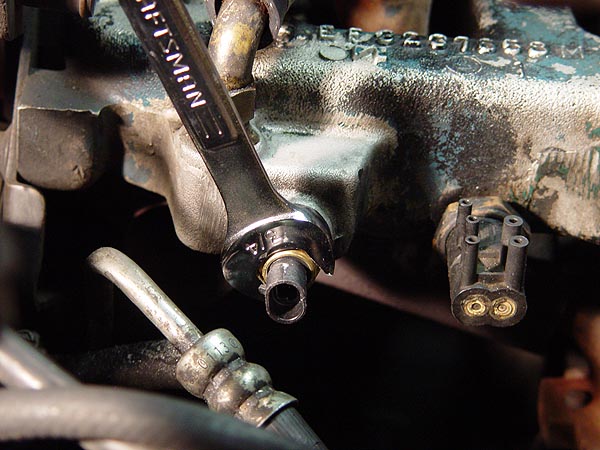
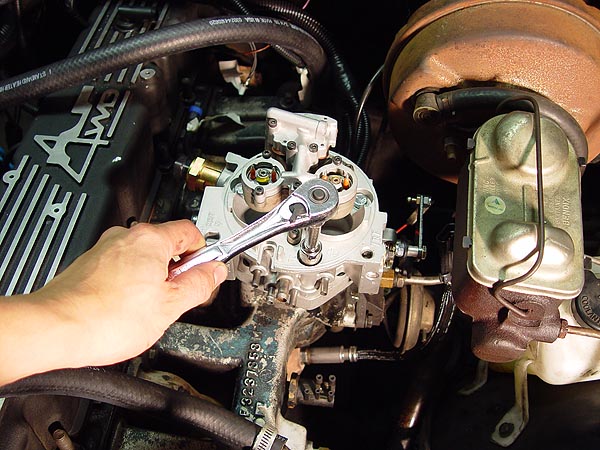
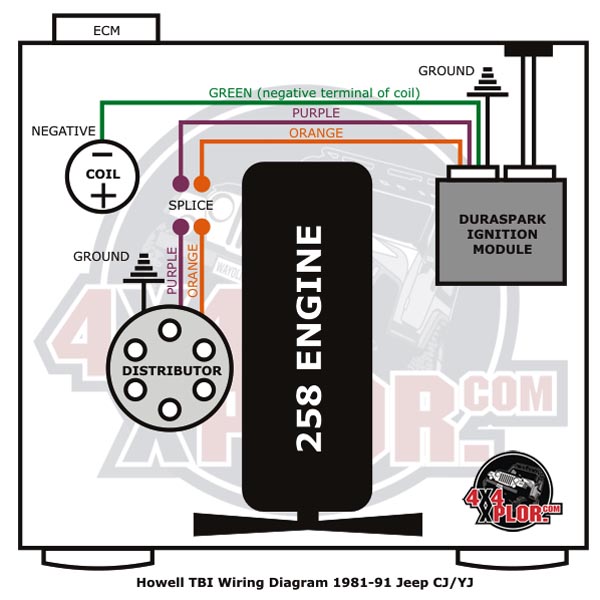
What is a Howell TBI
The Howell TBI is a fuel injection conversion kit based on a TBI
system found on GM 4.3 liter V-6 engines. This kit is one of only
two made for Jeeps that can be ordered California smog legal. The
other kit is the Mopar MPI but it typically costs twice the amount.
Both the Howell TBI and the Mopar MPI solve the problems typically
associated with the infamous Carter BBD (i.e. poor idle/stalling
and problematic vacuum lines). Both systems offer a huge improvement
over the Carter BBD setup.